Winter is a hard season on any vehicle, but it can be tough on your truck if you use it to tow and haul your toys for winter fun. Once spring arrives, it’s not a bad idea to invest in some spring cleaning of your truck to get it ready for the rest of the year. You could take your truck to a detailing shop, but those are expensive and sometimes there’s a long wait.
The alternative is to detail your truck yourself. It’s not as hard as you might think. Start by gathering a list of supplies, then set aside a few hours on a nice afternoon to get it done. When you’re finished, your truck will be nice and clean for the long road ahead.
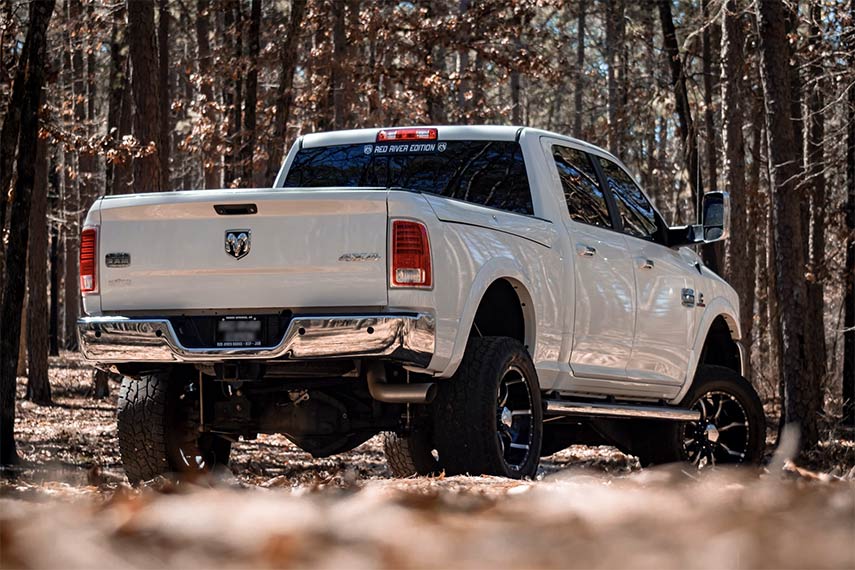
Let’s get started with a list of supplies to have on hand.
- Compressed air
- Stiff scrub brushes
- Non-acid tire cleaner
- Car wash materials
- Paint cleaner
- Wax
- Vacuum
Now, let’s go over the step-by-step process of DIY truck detailing.
Step 1 – Use Compressed Air
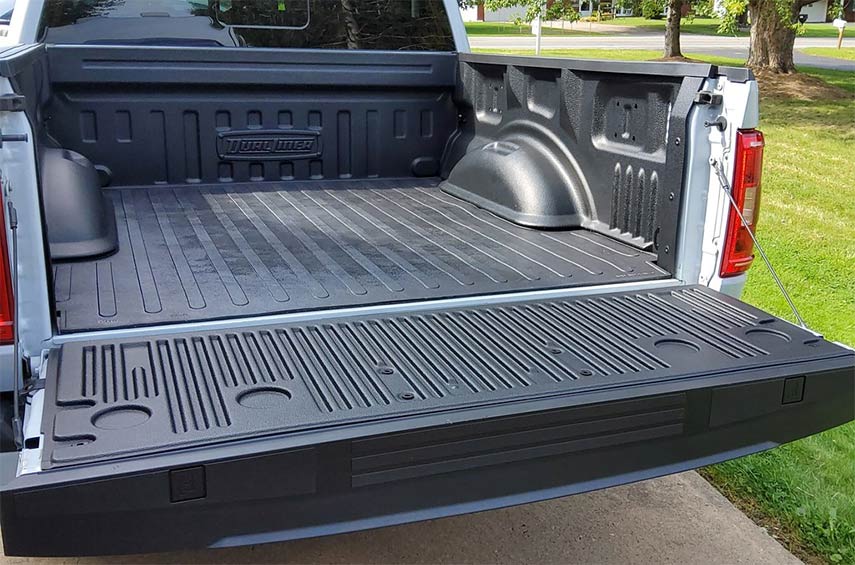
For this step, the easiest way to do it is to fire up your compressor. If you don’t have one, you could use a leaf blower for your truck bed and then cans of compressed air for the interior. The goal of this step is to get all the dirt and debris out of the various corners and crannies of your truck. Once the dirt and debris are out in the open, you can more easily vacuum it up or pick it up. You never know what might fall down beneath and between seats during regular use. The same goes for your truck bed. However, if you use a bed liner system like DualLiner, it greatly limits the amount of debris that can get trapped out of sight.
Step 2 – Scrub Your Carpets
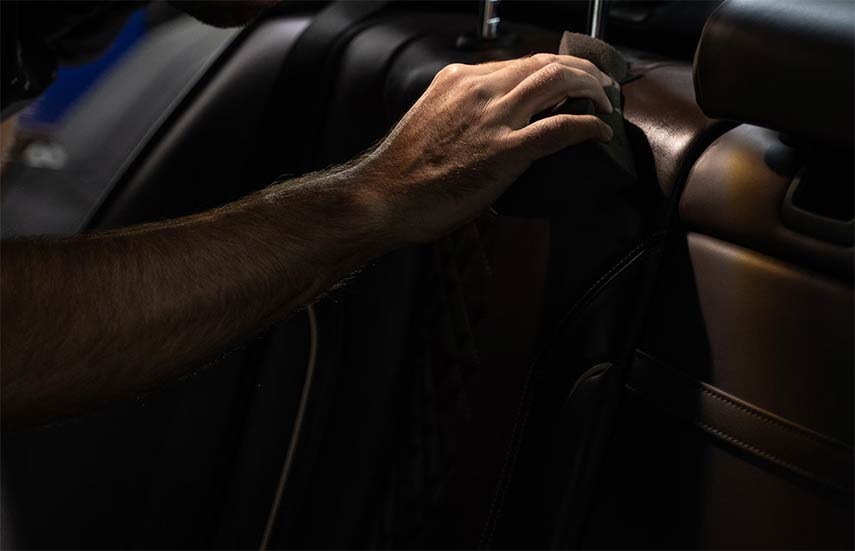
Before you vacuum the interior of your truck, you’ll want to use a stiff scrub brush to loosen dirt from your carpet and upholstery. If you have leather or fake leather seats, you’ll want to use a cloth with a cleaner that’s meant for this type of material. Scrub brushes are useful for loosening dried mud, pet hair, and other dirt and debris from carpets.
Step 3 – Vacuum
Use a vacuum with a hose attachment to clean your carpets and upholstery. If you have multiple head attachments, it’s a good idea to employ different ones throughout your interior. For example, use the brush attachment on leather or vinyl seats and on your dash. Use the crevice attachment to get between your seats or any other tight areas. If you’ve completed the first two steps, a regular home vacuum should be enough to get your interior clean.
Step 4 – Clean Your Ducts
To really get that new car smell, you’ll want to use your compressor to clean the ductwork in your truck. Use it to blow dust and dirt out of the heating and AC ducts and check out the duct walls behind your vent grilles. This is also a good opportunity to replace your cabin air filter if you haven’t done so in the last 9-12 months.
Step 5 – Clean Your Tires
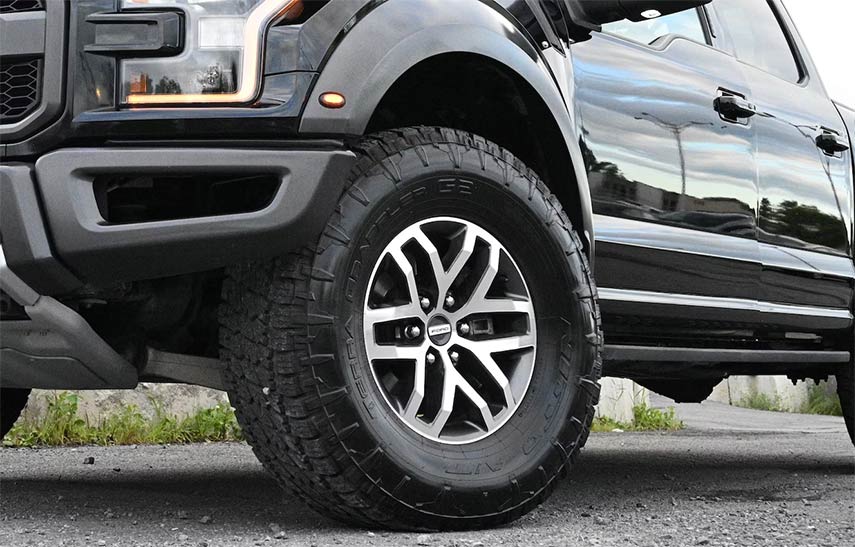
For that new car look, cleaning your tires is the way to go. But don’t use an acid-based cleaner as that can cause your wheels to oxidize and pit. Use a degreaser on your wheels, but don’t use harsh detergents that might splash on your paint. In the process of detailing, wheels and tires should be cleaned first before you do an overall wash and apply paint protectant.
Step 6 – Hand Wash
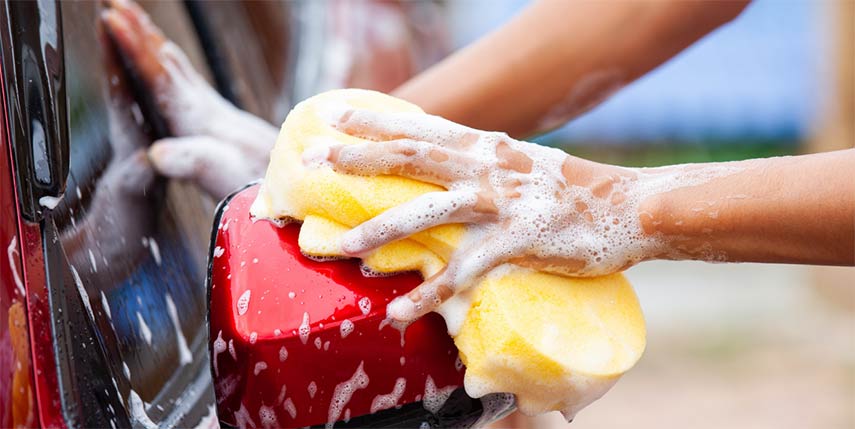
Hand washing your truck is the best way to get familiar with the entire surface of your truck. Don’t use dish soap to do this though. Instead, invest in a quality car wash solution. The hand washing step is one of the most important, but it’s also important to be thorough here and do it right. Start by using the hose to get your rig wet.
Then use a soft sponge soaked in car wash solution to scrub your entire truck, starting at the top to avoid streaks. After the final rinse, don’t just leave your truck soaking in water. This leaves dirt and minerals on the paint after the water evaporates. Instead, use a rubber squeegee to remove as much water as possible from the surface, then dry completely with microfiber towels.
Step 7 – Clean Your Paint
Just washing your truck may not be enough to fully clean the paint on your truck. Bird droppings, debris from trees, and other pollutants can settle into your paint and cause microabrasions beneath the wax and clear coat. Run your hand over the painted surfaces of your truck. If it feels rough, then it’s time for some paint cleaner. Use it to remove wax buildup and other chemicals. Paint cleaners can also remove microabrasions and tiny scratches from your paint.
Step 8 – Polish Your Paint
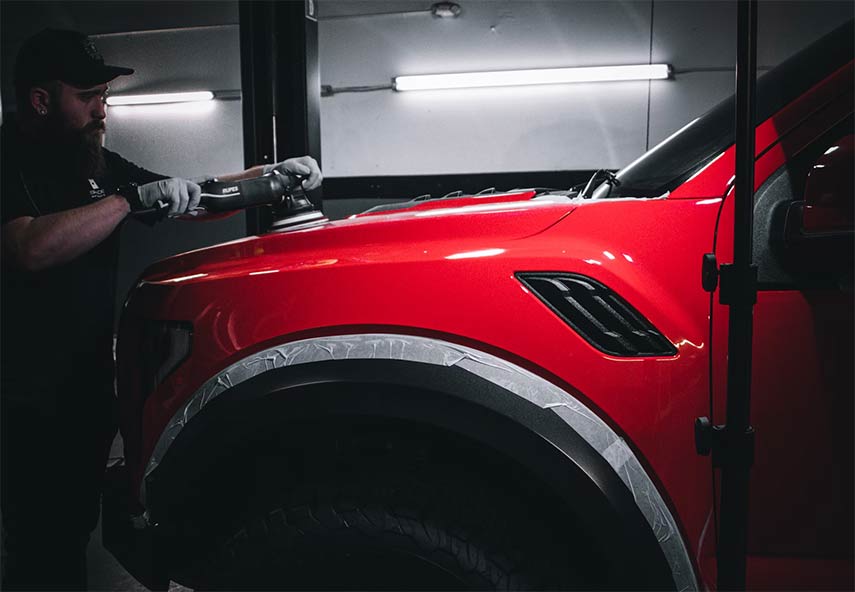
The next step is to polish your paint to smooth the surface and bring out the shine. A great tool for this step is an oscillating buffer. Don’t skip this step after cleaning your paint as it really gives your truck that new look.
Step 9 – Wax On
Once you’ve washed your truck and cleaned the paint from old wax buildup and other chemicals, it’s time to apply a fresh coat of wax. The usual rule of thumb is to apply wax every season to protect your paint as much as possible.
Step 10 – Wash Your Windows
The final step to detailing your truck is to wash your windows separately. Clean window glass last because it’s too easy to end up with grime on your windows from the previous steps, even after washing. Wash the inside and outside of your glass. While washing the interior glass, it’s also a good opportunity to use dash cleaner on your plastic surfaces. This helps give your truck that freshly detailed look and smell.
Cleaning out your truck bed is a unique process compared to detailing a regular vehicle. However, if you have a truck bed liner system from DualLiner, your bed will be fully protected from moisture and debris reaching your factory finish. You can simply blow out the bed with compressed air, then wash and dry like usual. Industry experts agree that truck bed liners by DualLiner are the best way to fully protect your truck bed.



Interested in a bedliner for 2024, 1500 Ram bighorn, 5’7” bed. Where are you located?
Hello John,
Thank you for your interest in our bedliner. DualLiner is website only, we do not have store locations. You can order directly on our website at http://www.dualliner.com to have it shipped to you to install.
-DualLiner