So you want to remove a spray-in bed liner. If you want to get it removed completely, you’ll need to put forth tons of effort. We’re here to support you while taking on this ambitious project. We’ll help guide you through the removal process, giving you tips on different tools you can use, and even we’ll even suggest alternatives to spray-ins you can use.
Why Would You Need to Remove a Spray-in Bed Liner?
When you first get a spray-in liner, you might think it will last forever. It’s true that many spray-ins are durable and good at protection –at first. They’re not without their hangups. Almost all spray-in liners are plagued with defects:
- Fading – It doesn’t matter how expensive your spray-in was, even high-quality spray-in liners will fade. The chemicals that give a liner its color also make it prone to sun damage.
- Staining – Good luck finding a roll-on bed liner with a warranty against staining. Spray-ins are prone to stains both minor (water spots) and major (grease and oil)
- Ripping and Tearing – Spray-ins are prone to tearing. You risk gouging your liner or tearing the edges when you load it with a heavy object.
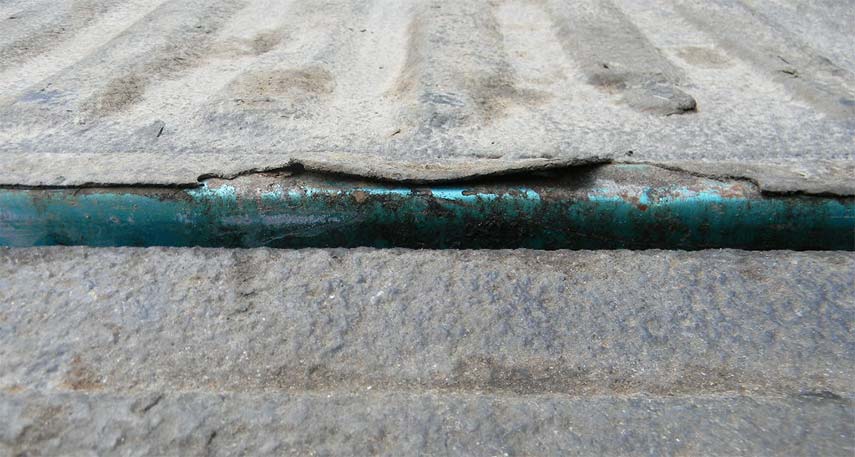
- Peeling, Cracks, and Bubbles – If your spray-in isn’t correctly installed, you risk defects like peels, cracks, and bubbles. These defects are usually covered under warranty but if you’ve bought your truck used, you’re probably not covered.
Spray-in liners are easy to damage but incredibly difficult to remove. As if damage marring your liner’s looks weren’t bad enough! We’ve consulted both vehicle paint/body pair professionals and other consumers to get advice on how to remove these stubborn spray-in liners. With their help, we’ve come up with a lengthy, but effective solution to removing these worn-out liners.

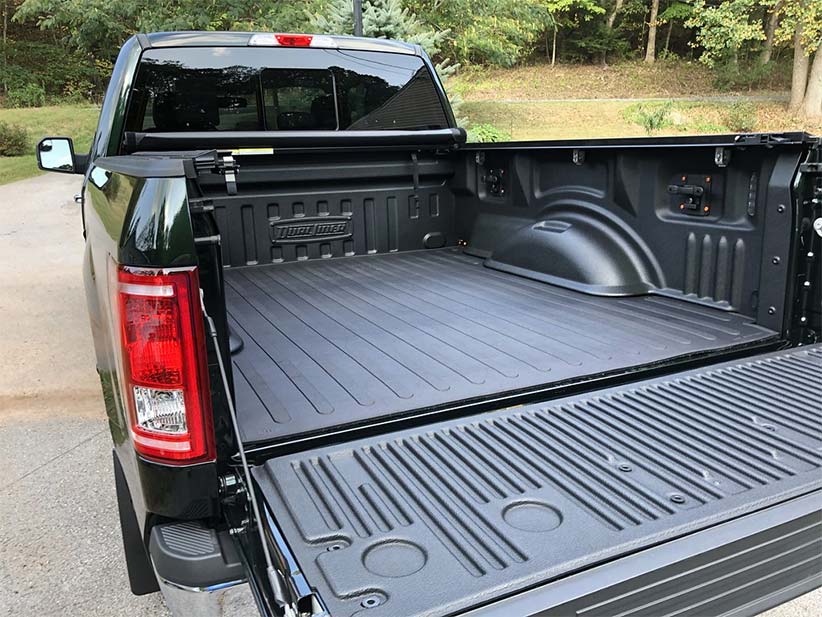
CAUTION: We don’t recommend removing a spray-in bed liner by yourself. It’s simply not worth your time or money. Our solution also includes harsh chemicals and powerful tools that require careful use. Instead, you can easily place another liner right on top of it –like the DualLiner truck bed liner. Not only do these liners correct the cosmetic mistakes left by your spray-in, but they also offer much greater truck bed protection.

Still, if you want to restore your truck bed to its factory condition, or you only need to remove a section of the spray-in liner, you can still refer to our handy guide. Read on.
How to Remove a Spray-in Bed Liner
Before you start, you’ll need the following tools:
- Chemical stripper
- A grinder
- A heat gun/torch
- A hammer and chisel
STEP 1: ASSESS THE TASK AHEAD
Take a look at the condition of your liner and your truck bed. This should give you an idea of what kind of work you’ll need to do to remove it. You can do an inspection for defects: search for bubbles, cracks, or flakes in the liner material. If there are a lot of bubbles and other defects visible, the liner was poorly installed and might be relatively easy to remove. If you don’t see many of these imperfections, you should reconsider removing your liner. It’ll be much more difficult.
STEP 2: CHEMICAL BATH
This step is optional because it requires harsh chemicals and a lot of care.
For heavy-duty cleaning, Aircraft Remover is a popular product among auto enthusiasts. You can use this cleaner to strip paint and rust off old muscle cars. It’s also popular with truck owners who’ve had luck using it to remove their spray-in bed liner. As convenient as it is, this product also requires extreme caution! Treat it like you would hazardous waste –Aircraft Remover practically melts anything it touches. It can even eat through concrete and driveways! That means you need the proper equipment: eye protection, gloves, and protective clothing. Don’t even think about using this chemical without them!
How does it work? You simply paint the chemical onto your worn-out bed liner, allow it to soak for 5 to 15 minutes, and then carefully scrape away the loosened bed liner. This treatment takes time and multiple coating, but if you’re patient and safe, then Aircraft Remover can strip your old liner away without damaging your truck bed. But this material can strip away paint and melt plastic so again, be very, very careful when using it.
STEP 3: GRIND IT
If you’ve decided to skip Step 2, you can move on to this step. If you’re dealing with a really thick section of bed liner, then you can use an angle grinder fitted with a wire wheel to get it off. This process is incredibly effective, but also time-consuming.
STEP 4: HEAT IT UP AND CHISEL THE LINER
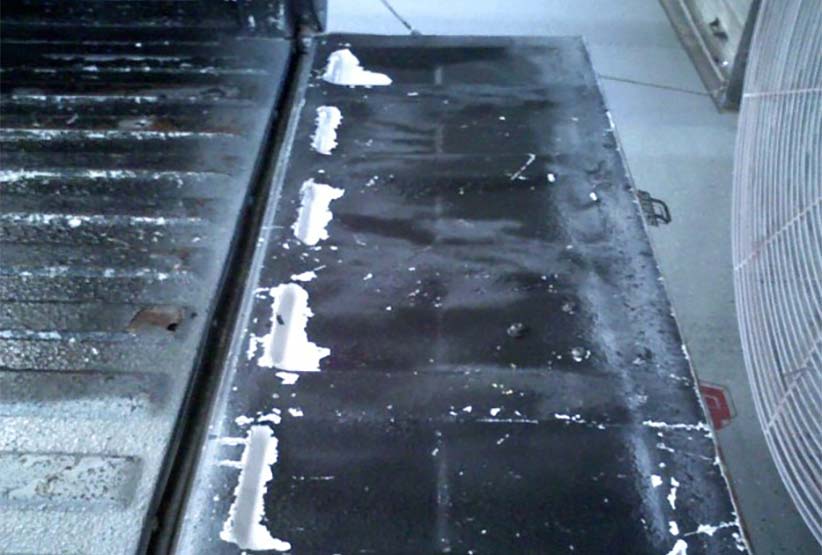
This step requires a heat gun and chisel. Use the gun to heat up the liner pieces and then use the chisel to chip them away. A paint scraper is a popular tool for this job, but if you want a more intense tool, you can also try an aggressive air chisel.
Body shop pros agree: when it comes to removing a spray-in liner, this is probably your best option. Just be careful and make sure to angle your chisel to prevent damaging your bed.
STEP 5: SAND AWAY WHAT’S LEFT
Once you’ve done the intense chemical treatments, the grinding, heating, and chiseling, all that’s left is sanding. You’ll need either a fine grit or a heavy-duty grit, depending on how much residue is left.
Since this process is so intense, you can always skip all these steps and pay someone to remove it for you. This process is easier, but it doesn’t come cheap. Bed liner removal will cost at least a few hundred dollars. Buying a DualLiner system and putting it on top of your old spray-in is even easier and cheaper than paying for removal.
WORDS OF WISDOM
While researching this process, we were offered some specific tips by the detailers, body shop pros, and consumers we contacted. Here are their “words of wisdom”:
- Always wear a mask and proper safety coverings when using chemicals, sanding, etc. Practice proper chemical safety procedures.
- Bedliner removal is a very messy task, no matter what method you use. A few people suggested working somewhere other than your own garage.
- Consult with a professional body shop to get an estimate on this work. Don’t think that doing it yourself will save you any money — the chemical strippers alone can break the bank.
- Unless you intend to install another spray-in liner, you will probably need to have your truck bed repainted after the removal process is completed.
- Sadly, there is little chance of removing a damaged spray-in bed liner without doing some sort of “collateral” damage. From melting plastic trim pieces to bed dents, damage is sort of inevitable. Even the pros say this.
Is Removing an Old Bed Liner Worth It?
In a word, no…or at least that’s what we think based on talking to a handful of experts. Removing an old spray-in or DIY roll-on liner is necessary if you’re trying to restore a factory paint job, or if you really want to install a new spray-in liner to replace the one you removed.
Otherwise, you might think about covering up the tattered old spray-in liner you have with DualLiner truck bed liner.


